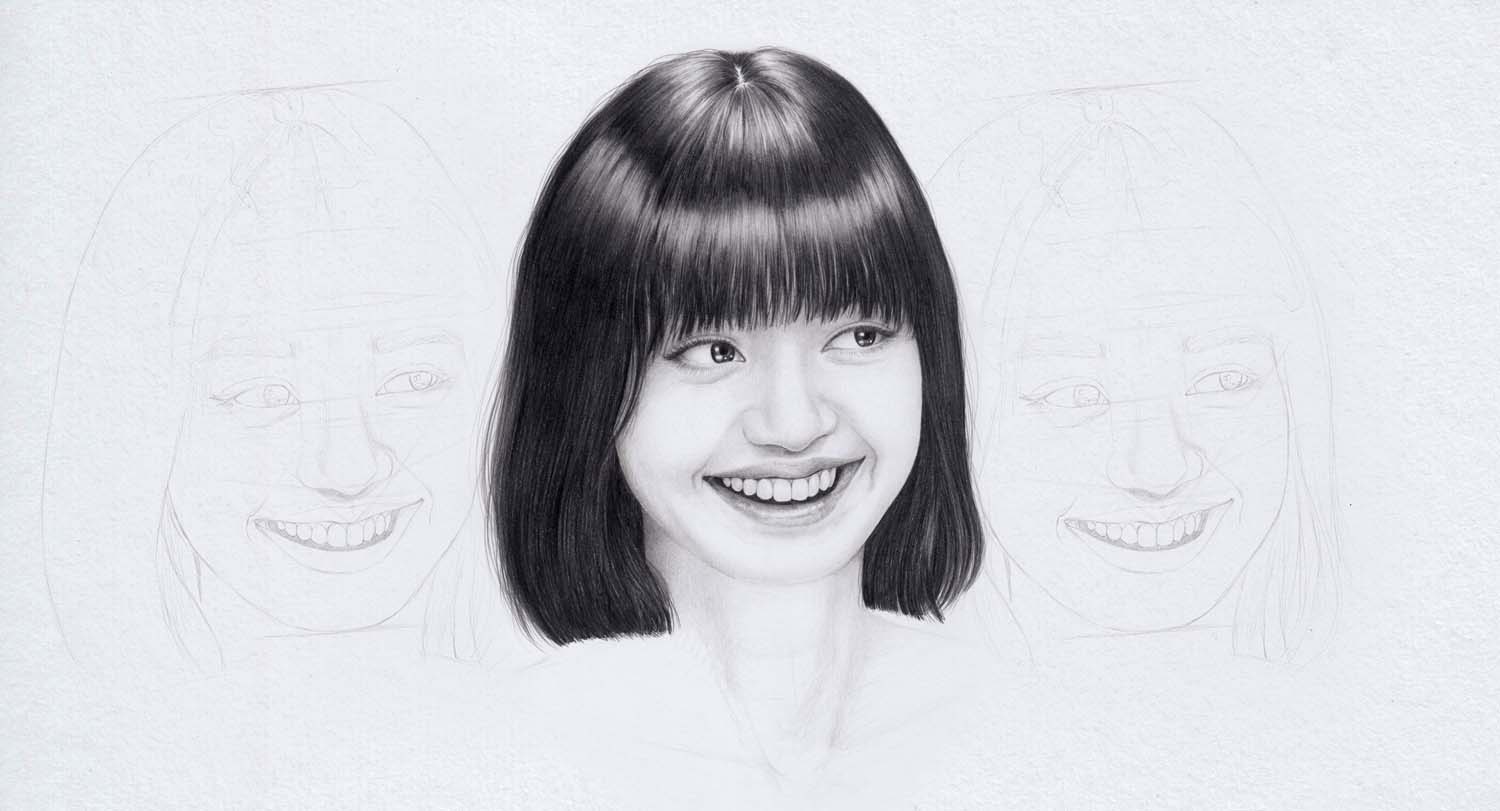
How to Draw a Portrait
Step-by-step Tutorial for Drawing Realistic Portraits
In this tutorial, you are going to learn how to draw a portrait. This is an important skill for artists and hobbyists alike, as portraits are a great way to capture a person’s personality and vibe. We’ll go over the basics of proportion, shading, and detail work so that you can draw stunning portraits that you will be proud of!
Some people might find drawing portraits difficult, but if you have the basics of how to draw heads down then it’s time for some more challenging art!
Find a Reference for Your Portrait
For a realistic portrait drawing, you should use a reference. This can be a photo or a person.
A photo is an easy reference because, like your drawing, it is two-dimensional, making the translation from photo to drawing not too difficult. In addition, a photo also doesn’t move or get impatient if you take too long.
However, if you are lucky enough to find a living reference (i.e. a person) with a lot of patience, you should not miss out on this opportunity! While it is a much more difficult endeavor, you can also learn a lot more in the process.
From Reference to the Sketch of Your Portrait
First, translate your reference into a sketch. For this, you should take enough time and check again and again whether you have drawn the proportions of the face and head correctly.
When drawing the proportions, make use of as many guidelines as you need, but I recommend drawing them with a hard pencil (e.g. an H4 or H2). This is because the guidelines of your sketch will disappear under the later drawing with this pencil hardness.
If you nail the distances and sizes of individual elements precisely, the portrait drawing will look exactly like the original. Discrepancies, on the other hand, will result in the finished drawing only resembling the original.
In addition, watch out for special characteristics. The position of the teeth, the lines of the lips, wrinkles, freckles, or birthmarks are just a few examples of details that need a lot of attention in the sketch.
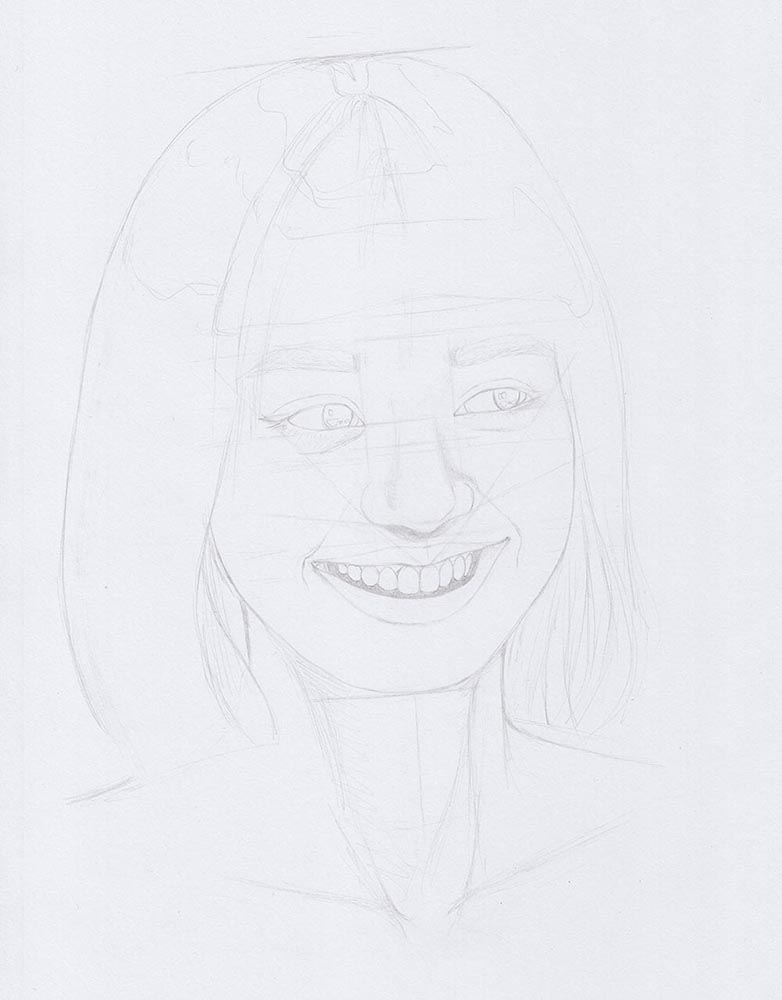
Beginners should not put too much pressure on themselves. The goal at the beginning should be to draw a person realistically, not perfectly.
From Sketch to Portrait Drawing
The next steps are recommendations and do not have to be executed in the same order. Some artists start with the eyes, others with the hair. The more you draw, the better you will understand what works best for you.
Draw the Skin
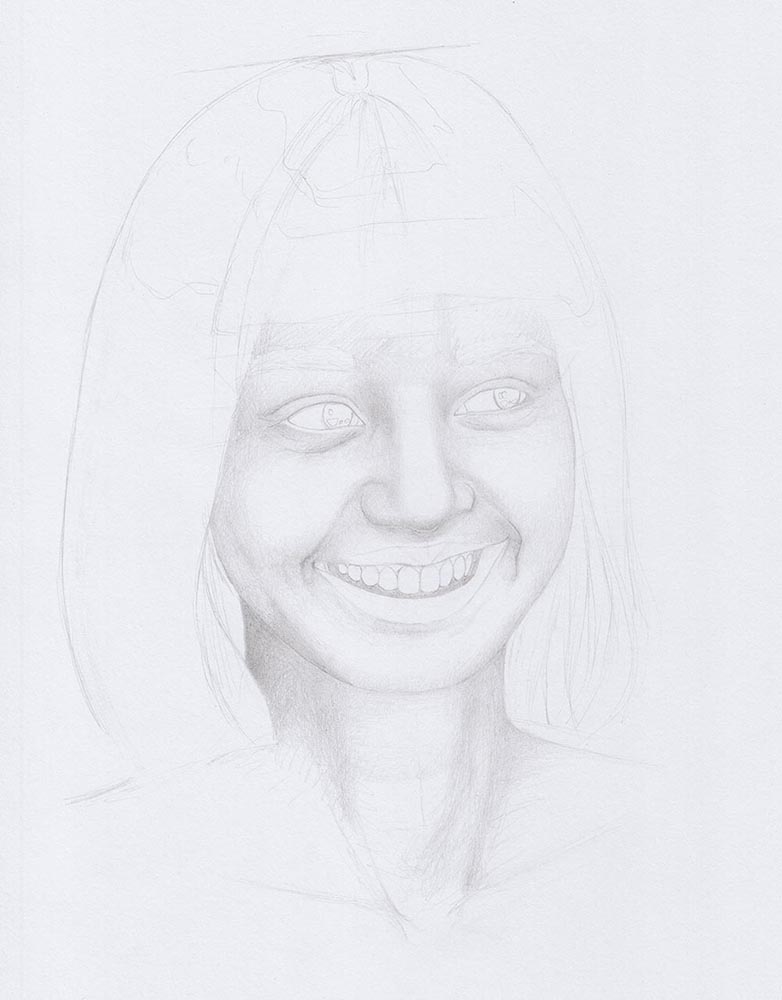
Skin is particularly exciting to draw because you create a sculptural illusion. First and foremost, this involves drawing shadows and leaving blank spots for light reflections, no matter what skin tone or skin type you want to depict.
It is best to start with a hard pencil with which you draw all the shadows. Only when you are satisfied with the result you can gradually enhance the shadows with softer pencils. In order to be able to make timely corrections, it is important to check each step in between before moving on to the next step.
By the way, while you are drawing and sculpturing the skin, you can also say goodbye to the guidelines that you no longer need. Most of them should disappear by themselves under the hatching, others you can carefully remove with an eraser.
Draw the Eyes
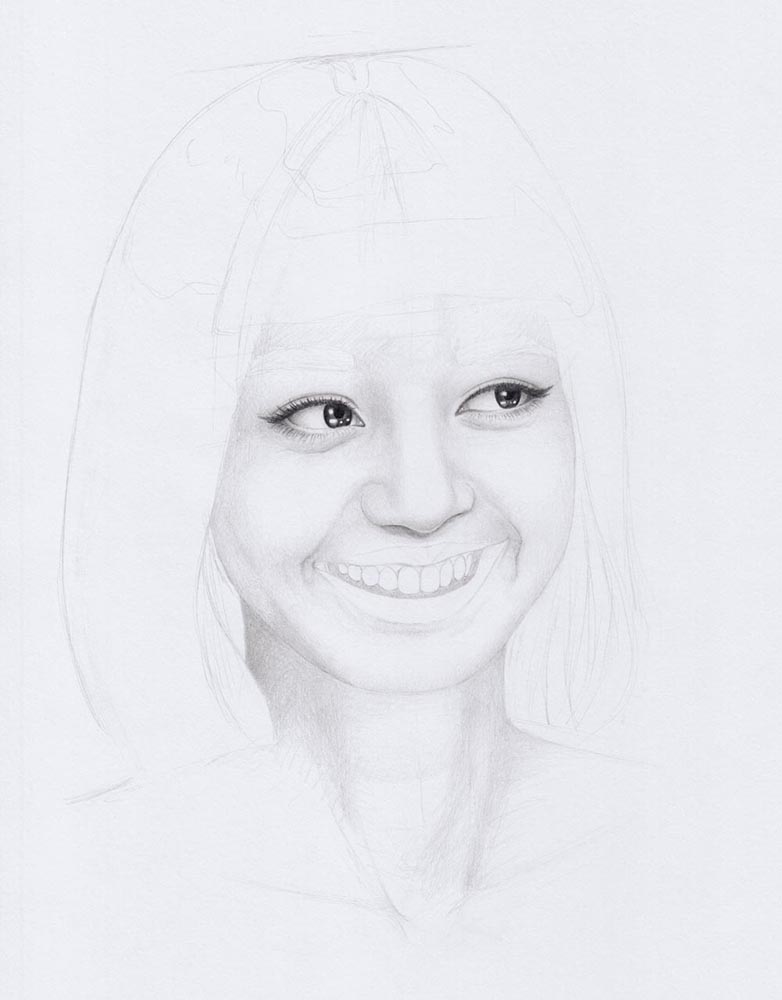
Eyes really bring a portrait to life. At least that’s how it appears to many, which certainly has something to do with the fact that we humans usually look other people in the eyes first - even in drawings.
When drawing the eyes, you usually need a wide range of different pencil hardnesses to do justice to details such as wrinkles, eyelashes, eye shadows, etc.
Because of the strong contrasts of the soft pencils, it is not uncommon to start drawing shadows darker elsewhere on the face to bring balance back into your portrait. This shows that there really is no set order when drawing a portrait.
Draw the Nose
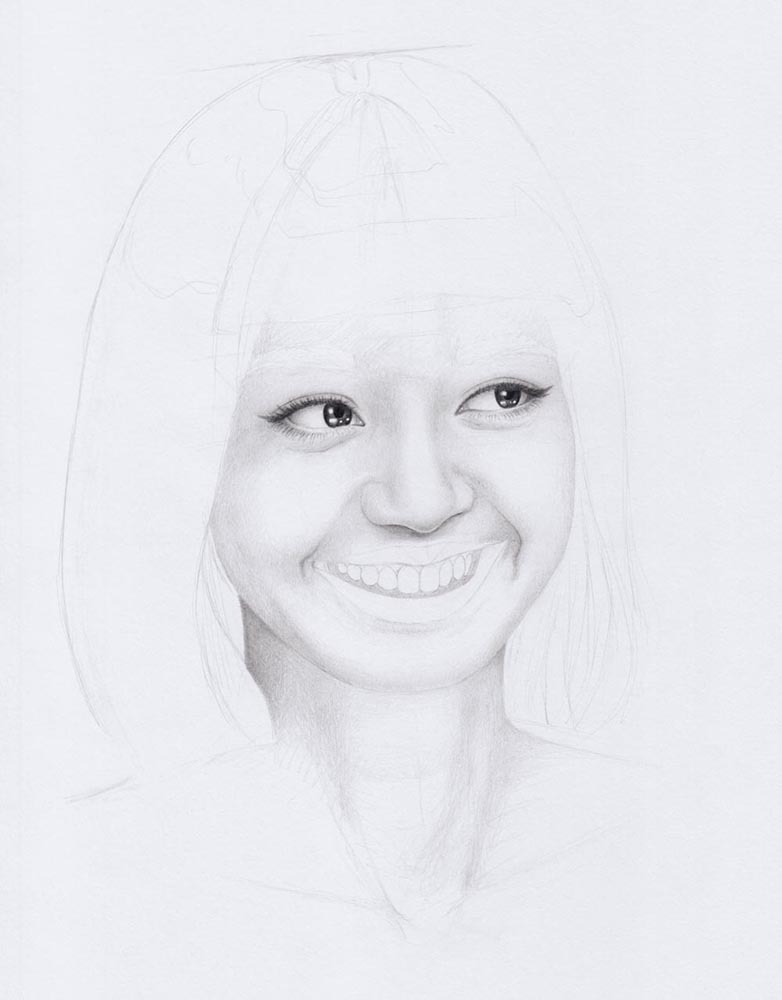
When you drew the skin, you probably also drew most of the nose. In the case of the example drawing, the bridge of the nose is too wide and needs to be improved.
When working on the nose, it’s often a good idea to start by drawing very fine shadows. This may sound like an attractive option at first but if done wrong will have big consequences for your final portrait drawing!
If you want to play it safe, you can use an H4 and patiently work your way through barely visible shadows.
Draw the Mouth
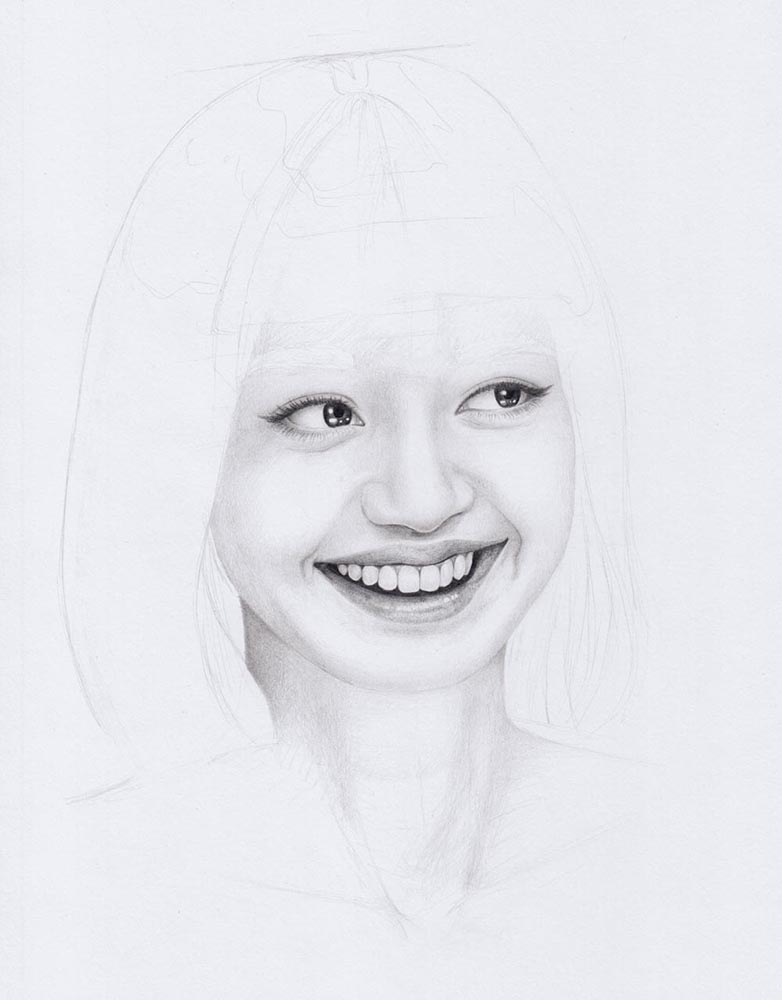
Depending on the emotion of your portrait, you may encounter different challenges when drawing the mouth. If the mouth of the portrait is resting, you need to draw many fine lines on thelips. If it is smiling, you also need to draw teeth.
Similar to the eyeball, teeth are white but still require very light shading to look realistic. Here you should go by less is more. Otherwise, your portrait could look as if it urgently needs prophylaxis. The hardest pencil in your possession is the best choice here.
In order to make the lips look realistic, you should try not to draw a lip outline, but softly hatch it while drawing the rest of the lip. This way the lip contour will remain soft and realistic.
Draw the Hair
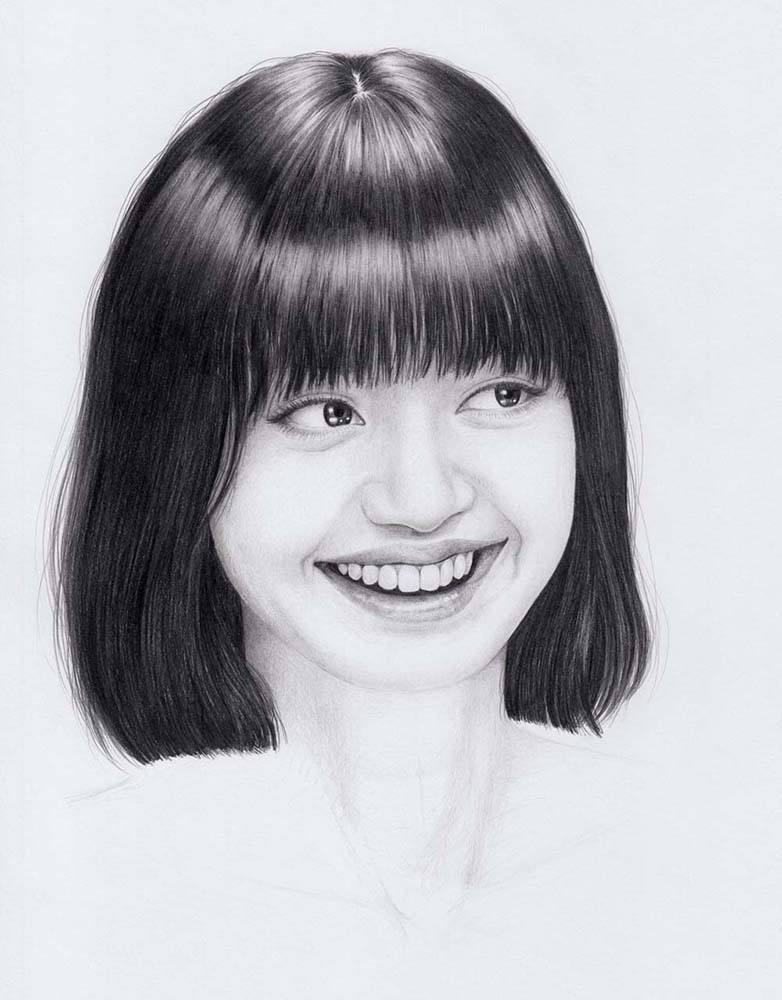
Depending on the hairstyle, you can draw the hair either at the end of your portrait or at an earlier stage. For the example drawing, I wanted to draw a very dark bob with bangs. So, since the hair partially covers the face, in this case, it is worth waiting until the end. Hairstyles where the hair is out of the face, on the other hand, can be drawn at the beginning.
Once you are done with the hair, it’s worth taking a final look at the portrait drawing and possibly touching up some shadows on the face or neck, because dark hair in particular can make the rest of the portrait look washed out.
Does a Portrait Drawing Need a Background?
A portrait drawing does not necessarily need a background. While a portrait without a background draws full attention to the person, a background can add tension to the drawing. Specific spaces, environments, or monochromatic backgrounds can each have a different impact on the portrait and put it in a completely new context.
Final Tips for Portrait Drawing
- Drawing portraits is really not easy! Therefore, don’t get discouraged if the result looks different than expected. It’s more important that you make progress with each drawing!
- Feel free to practice individual elements like eyes or mouth in detail before or while drawing a portrait if you are unsure.
- Have a separate piece of paper at hand, as this will help to prevent you from placing your hand on your drawing and smudging it.
- The darkest point in your portrait should always be the pupil. Since it absorbs all light, nothing else should be darker. If you use a very soft pencil to touch up your portrait in places, you should also use the same pencil to touch up the pupils.
Inspiration: More Portrait Drawings
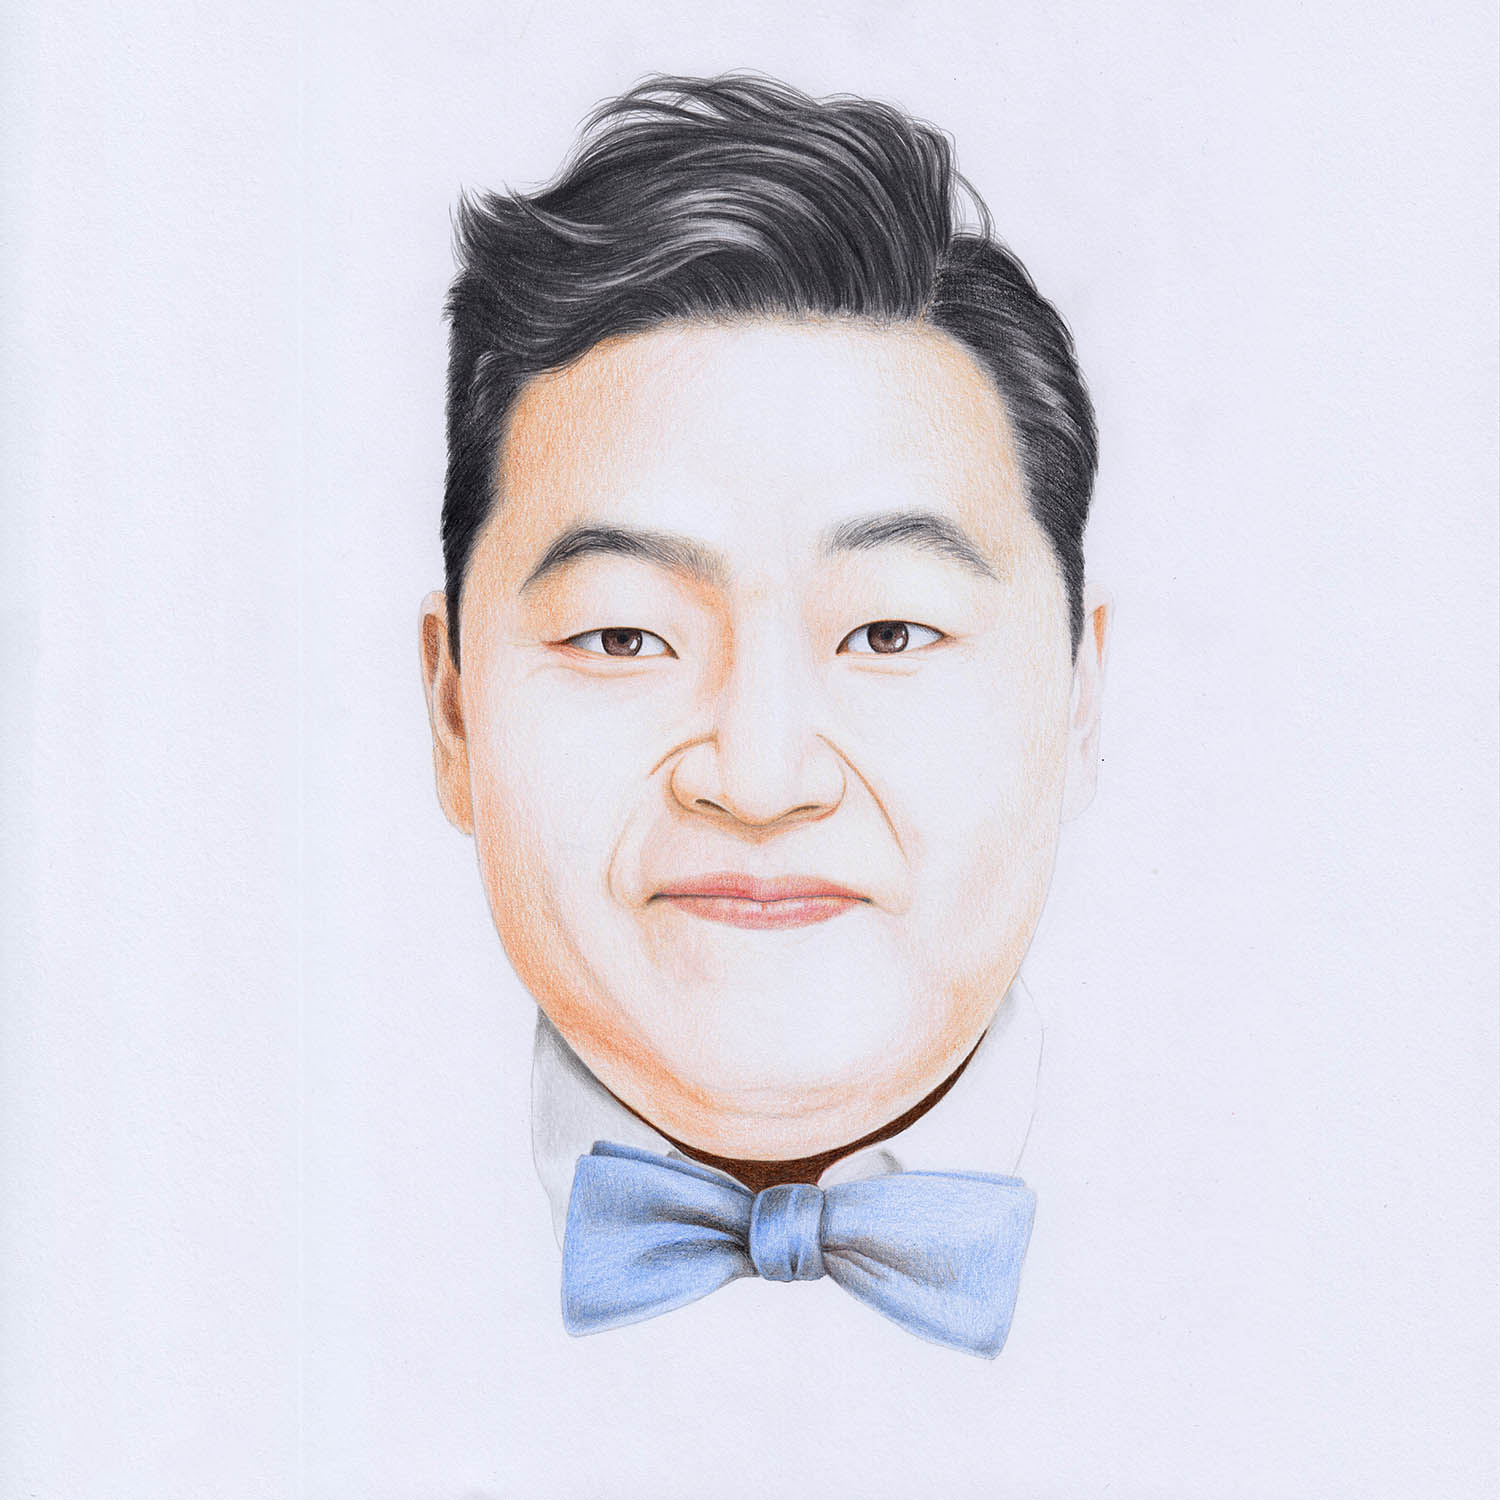
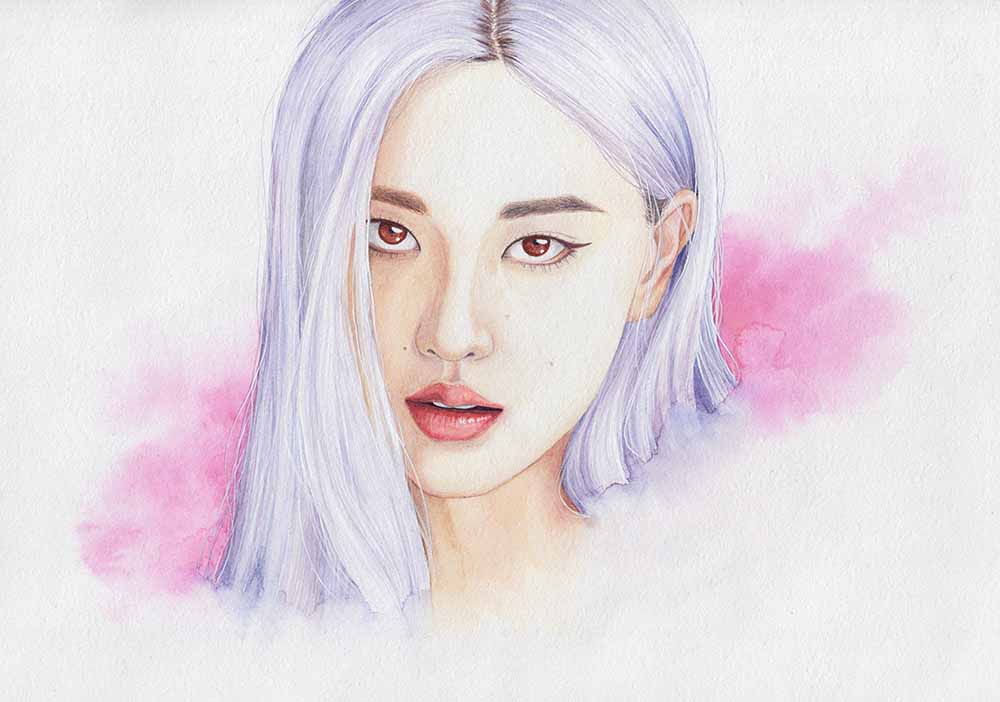
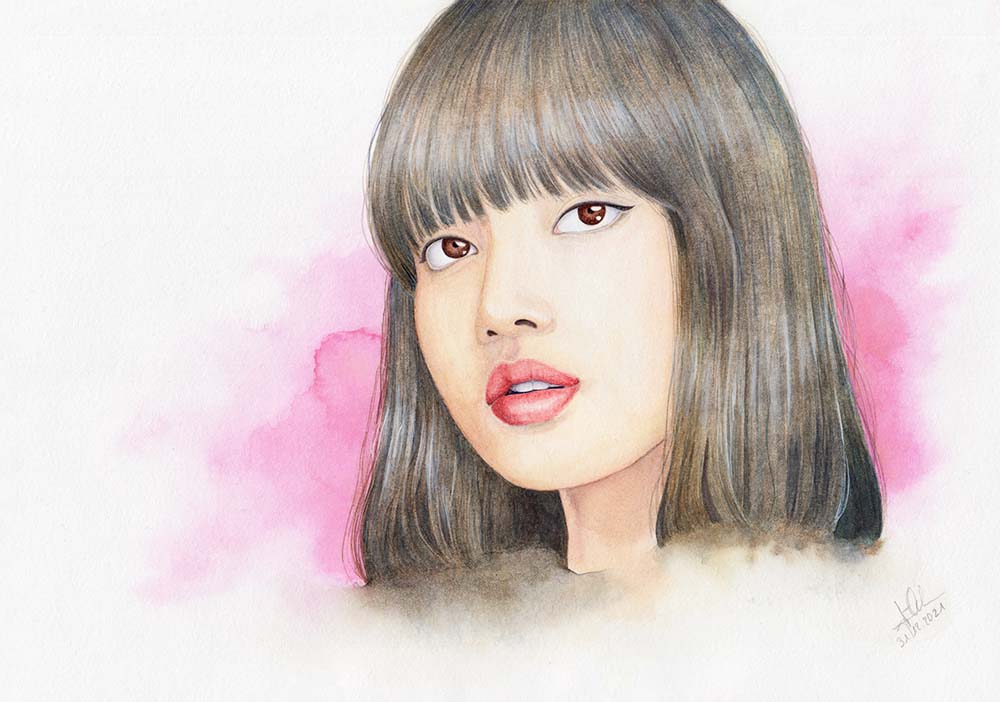
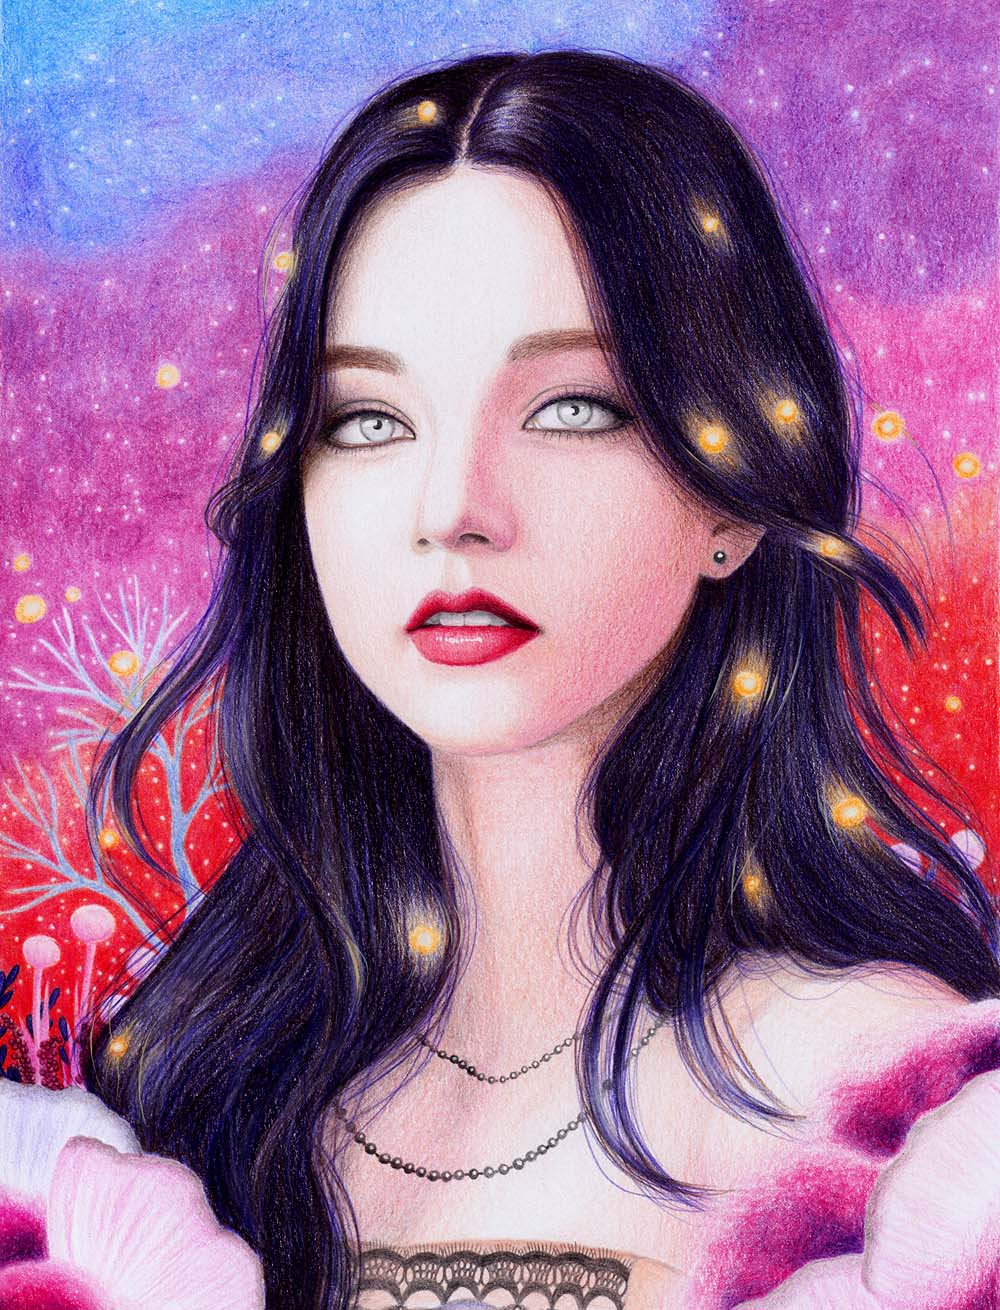
Are you looking for some inspiration for your next portrait? Below you will find some of my portraits drawn with pencil or colored pencils or painted with watercolor. Portraits can be created with a variety of tools, so it’s best to just try different ones to find out what gives you the most joy.


Similar Posts