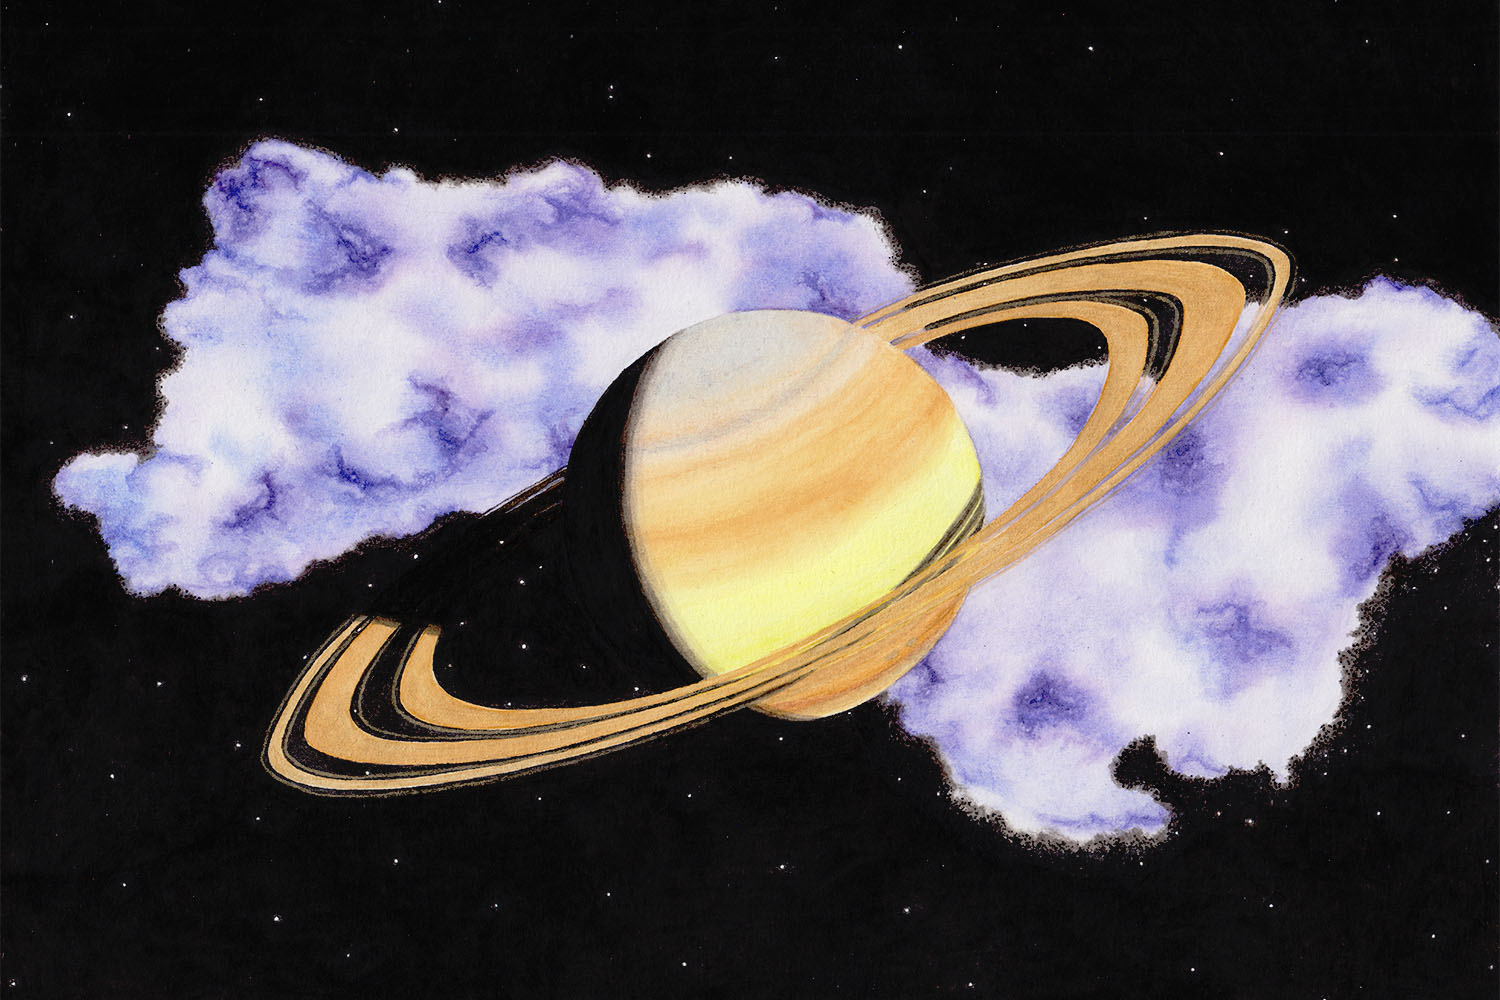
How to Draw Saturn
From sketch to polished masterpiece: how to draw Saturn like a pro
Believe it or not, it’s quite easy to draw Saturn. In this tutorial, I will show you step-by-step how to create a drawing of the ringed planet. It doesn’t matter if you’re a beginner or an experienced artist. Regardless of your skills, Saturn is a great subject, and your finished drawing is guaranteed to be fantastic!
Supplies for Drawing Saturn
To follow this tutorial, you don’t necessarily have to use the same materials as I do. I will be working with watercolors and ink, but you can use colored pencils, gouache, acrylic, or other paints, for example.
What’s important is that we use suitable colors - although Saturn would certainly look great as a pencil drawing or charcoal drawing as well.
For my drawing, I’m using the following things:
- H2 pencil for sketching
- Horadam watercolors from Schmincke
- Chromium yellow hue lemon
- Yellow ochre
- Mahogany brown
- Cobalt blue hue
- Brilliant opera rose
- Gold
- Black ink
- Nib
- Watercolor brushes in sizes 1 and 8
Inspiration & Reference
My inspiration for the artwork is an old drawing of mine. I tried to draw a series of realistic drawings of the characters from Sailor Moon, but even then, I found the idea of drawing the planets individually very tempting.
I want to recreate the drawing, but without a person and with different materials. For the old drawing, I used colored pencils, and it was particularly challenging to draw the emptiness of space with a black pencil.
Also, I found this great page about Saturn on NASA’s website, with various information that may not necessarily help us with our drawing, but is still very interesting.

Sketch of Saturn
In my drawing, I want to place Saturn in the center, so in the first step of my sketch, I draw a circle in the middle of the paper. Feel free to use a tool like a cup, glass, or compass to help you draw the circle. I used a coffee mug.
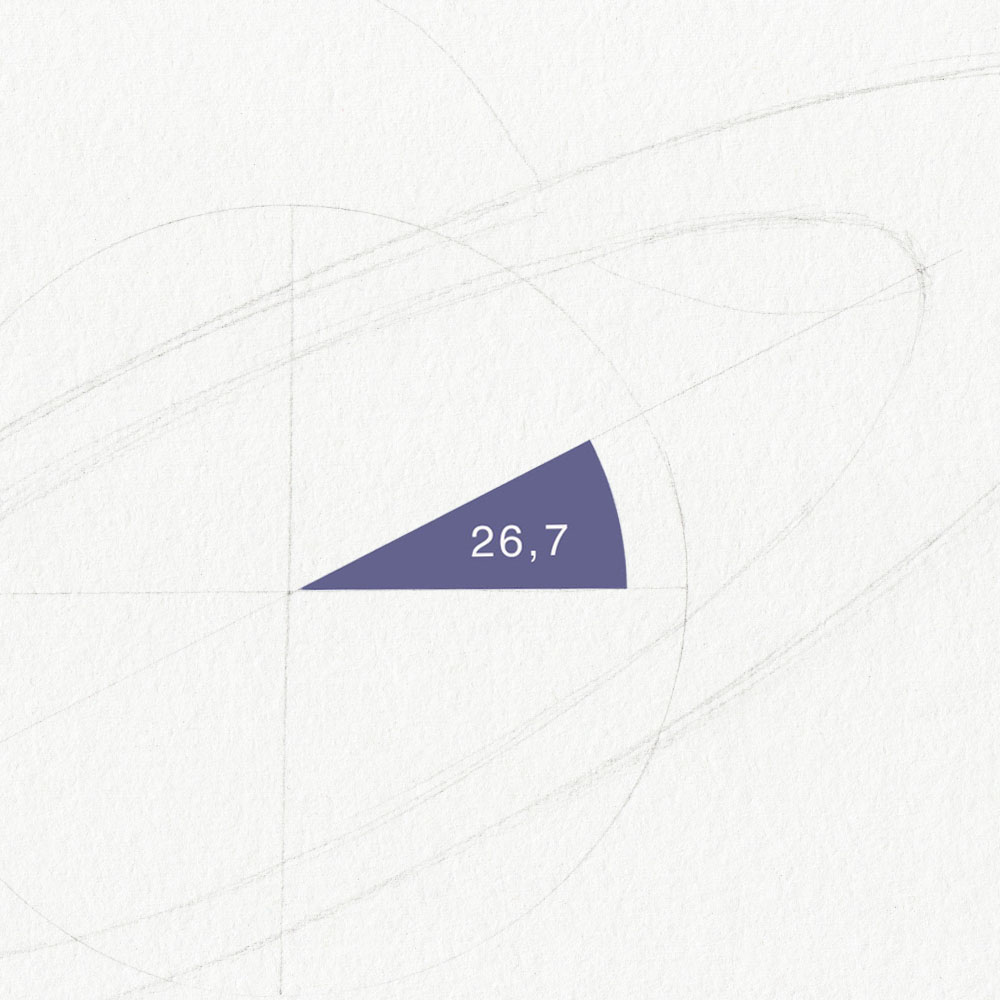
Once the circle is done, we can focus on the ring(s). After I shared my old drawing on Instagram, someone pointed out that I drew Saturn at too steep of an angle. The actual tilt is only 26.7 degrees.
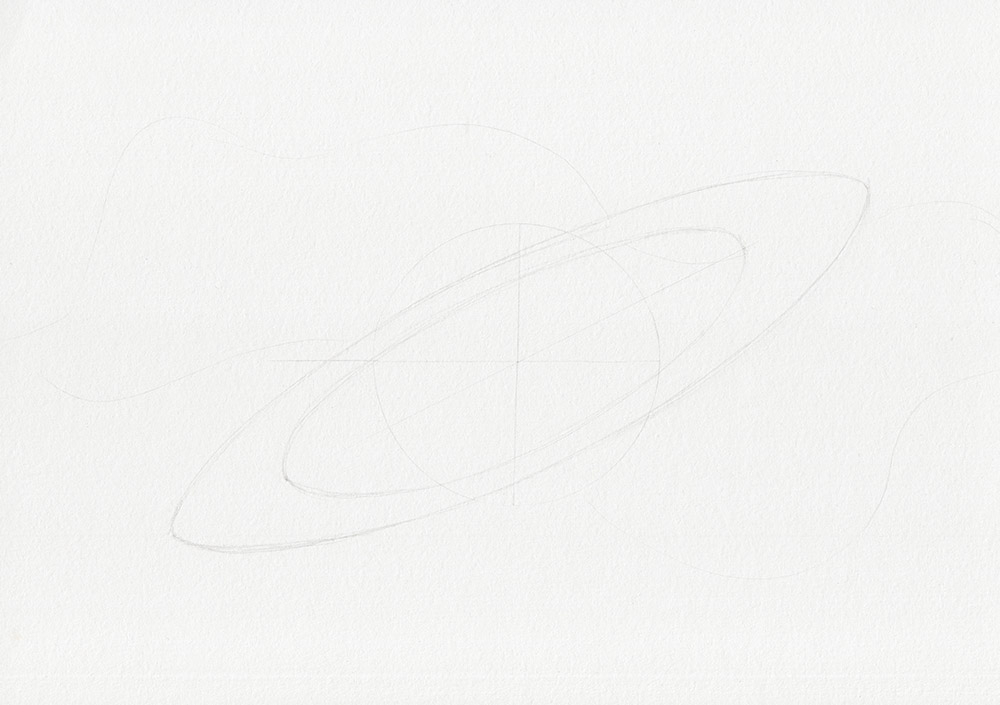
You can quickly determine the angle by drawing a few guidelines. Find the center of the circle and then draw a horizontal line. From this horizontal line, use a protractor (or other angle measuring tools) to draw another line at 26.7 degrees.
Now you can sketch the inner and outer rings, paying attention to the tilt that makes the rings narrower in front of and behind Saturn, but wider to the sides.
Colors for Saturn
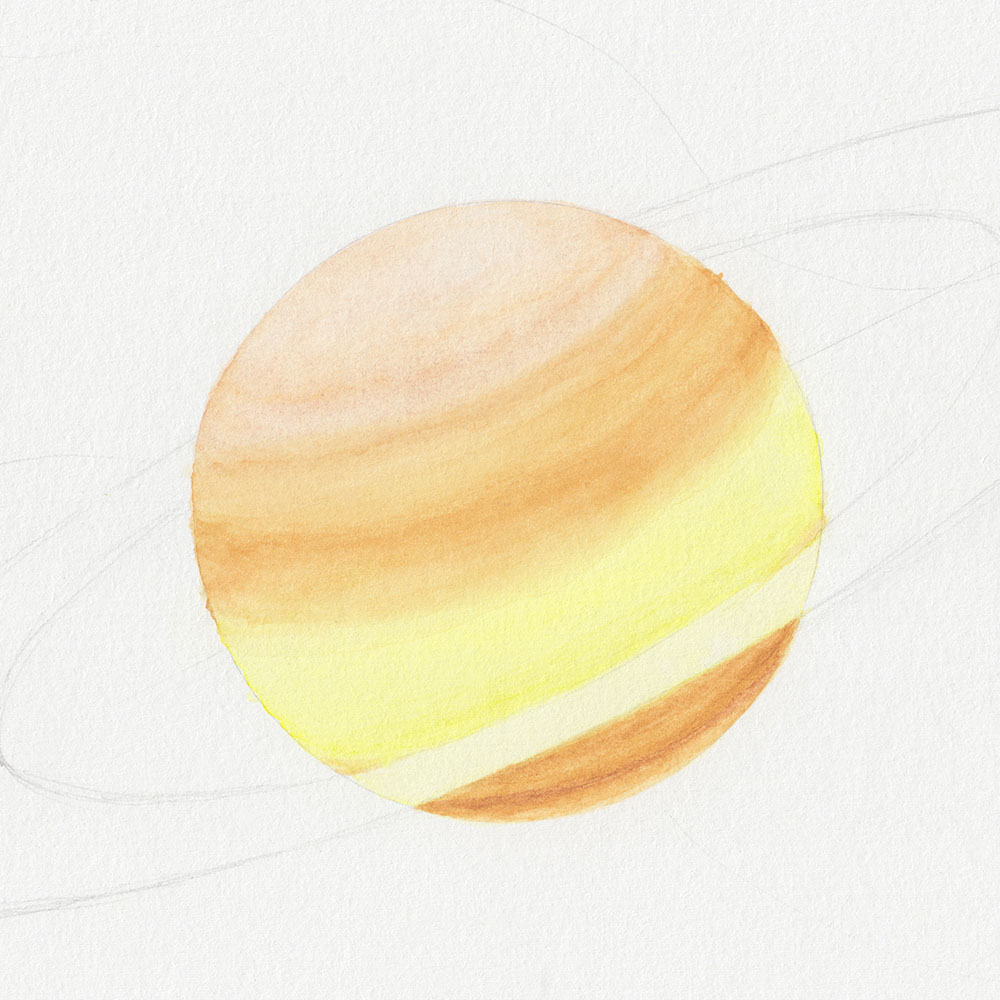
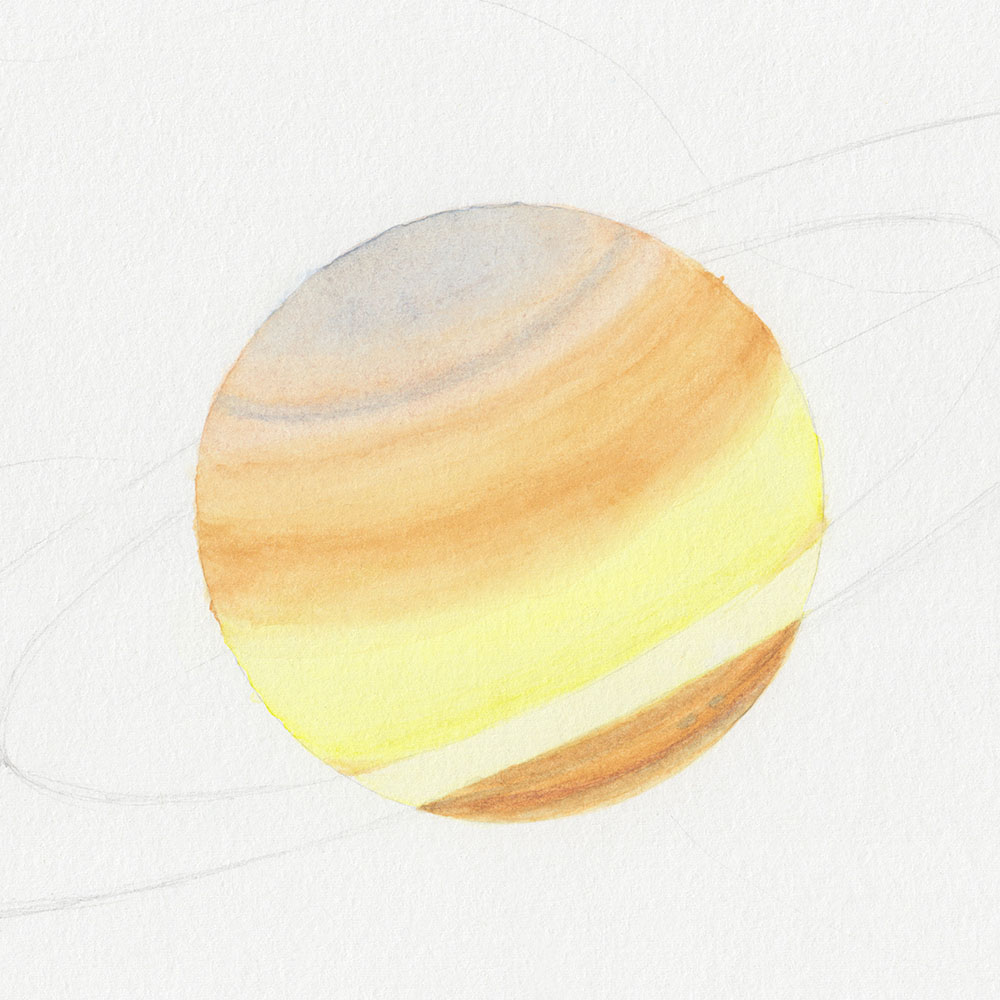
Let’s start with a bright shade of yellow, which we’ll apply to the lower part of the gas planet. Be sure to apply the color in curves with your brush (or colored pencil), so the surface looks like a sphere and not a disc.
This is a mistake I made in the old drawing, which made Saturn look flat and unrealistic.
Important: If, like me, you’re using watercolors, wait until the paper is completely dry before applying the next layer of color. This way, the colors remain bright and do not mix uncontrollably with each other.

Next, the color yellow ochre is the perfect shade. If you don’t have it, you can use a similar color.
Again, it’s best to apply the color in curves above and below the yellow area. There should be no sharp borders between the two colors; they should blend softly into each other.
Finally, I apply a very thin, transparent layer of mahogany brown on the northern side. Yellow ochre seemed too yellowish to me here, so I searched for something with a reddish undertone.
In many NASA photos, you can see a bit of blue near the two poles, with a much stronger representation in the north than in the south.
So, I take the color cobalt blue hue and apply a transparent layer to the respective areas. Once the first layer has completely dried, I add individual rings and paint two inconspicuous, small spots in the south.
Tip: If you feel that the watercolor paints or the brush are limiting you, simply switch to colored pencils. You don’t have to force yourself to use only one material. What’s more important is that you can bring your ideas to paper and use suitable materials for that.
Painting a Galactic Cloud
The galactic cloud can be classified as artistic freedom since nothing like it is near Saturn. Therefore, if you don’t like this idea, you can also skip this part or maybe you have another idea that you would like to implement instead.
The cloud is very easy to paint and fun. You just have to work precisely and carefully at the borders of the planet and the rings.
First, apply clear water with a clean brush where the cloud should be. It is super important that the water does not land on the planet or rings. If it still happens, let everything dry completely and then start a new attempt.
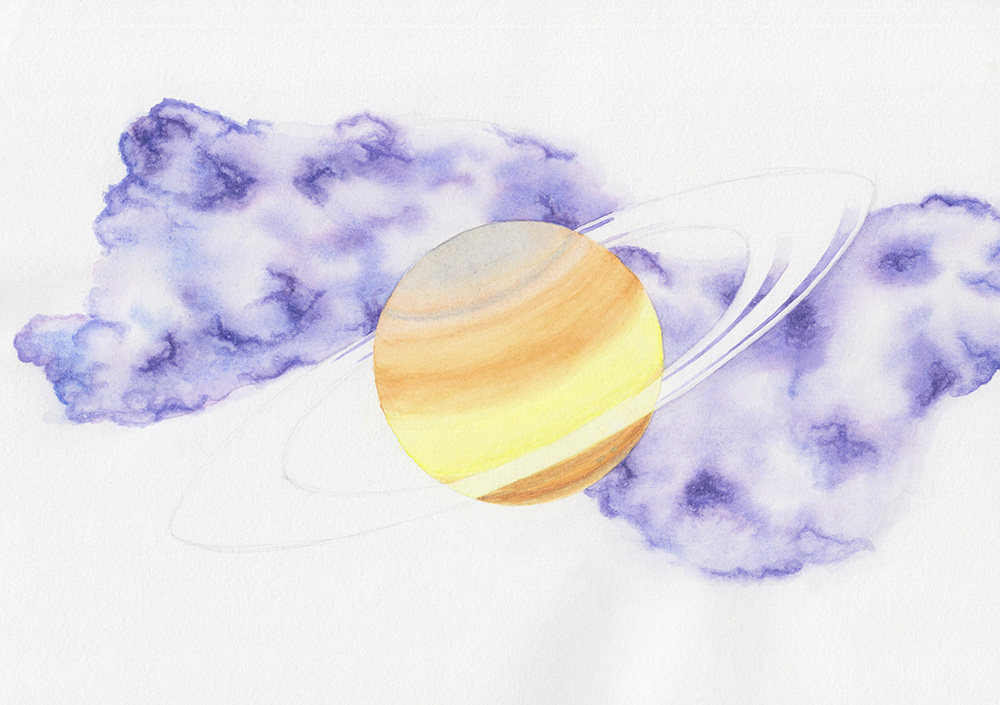
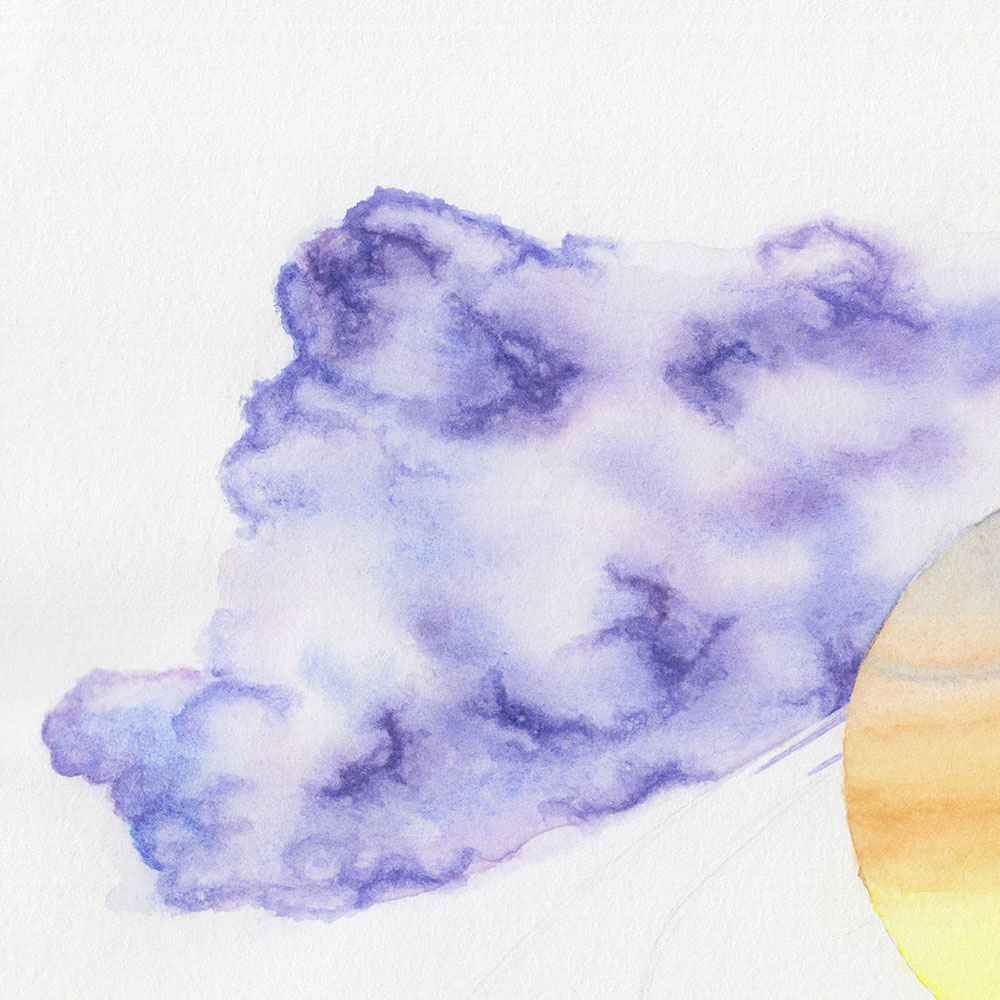
Once the area of the cloud is wet, apply watercolor paint using the wet-on-wet technique and watch the pigment spread on the wet paper.
There is no specific instruction for this part, as you can freely explore your creativity. For example, you can move the paper to influence the direction of the color gradient or leave the paper still to create very uniform color gradients.
I would recommend letting the cloud dry completely before applying another layer, especially if you are using different colors. This ensures that the colors remain vibrant and do not mix uncontrollably. Additionally, it gives you better control over light and dark areas, as watercolor paint appears lighter when it dries than when it is wet.
Saturn’s Rings
For Saturn’s rings, I use the colors yellow ochre, and gold, which give the drawing some sparkle. Unfortunately, the sparkle is not visible in the scan, but I promise you, it’s there! The gold color, like the galactic cloud, is just a creative decision of mine that you don’t have to adopt for your drawing. The actual rings are made of ice and rock, and gold is nowhere to be found so far.
It’s not easy to paint the rings because you have to work extremely precisely. I use a brush size 1, which allows me to draw very thin lines.
However, I’m not completely satisfied with the result. Saturn officially has seven rings, two bright ones, one almost transparent, and four more that are not much visible either. When I look at NASA’s photos, I only see a disc-shaped ring made up of several lines.
For my drawing, I’ll stick with three rings for now, but I may work on them more with colored pencils later.

Drawing Space with Ink
In the previous drawing, I painted the background with a black colored pencil, which felt like it took forever and significantly shortened the pencil’s lifespan. For this drawing, I’m using black ink, which I can apply with a brush over large areas.
To draw the stars, I use a nib to make various-sized circles, and the space inside the circles represents the stars.
With a nib, you can draw precise lines that are particularly dark. If you don’t have a nib, a black gel pen, or something similar is recommended. You can also try using a brush, but it’s slightly more challenging to draw precise, dark lines with it.
I recommend filling in the areas around the stars with a larger brush because it’s faster than using pencils. However, in my case, I still need to layer multiple coats of ink to achieve a deep, dark black.
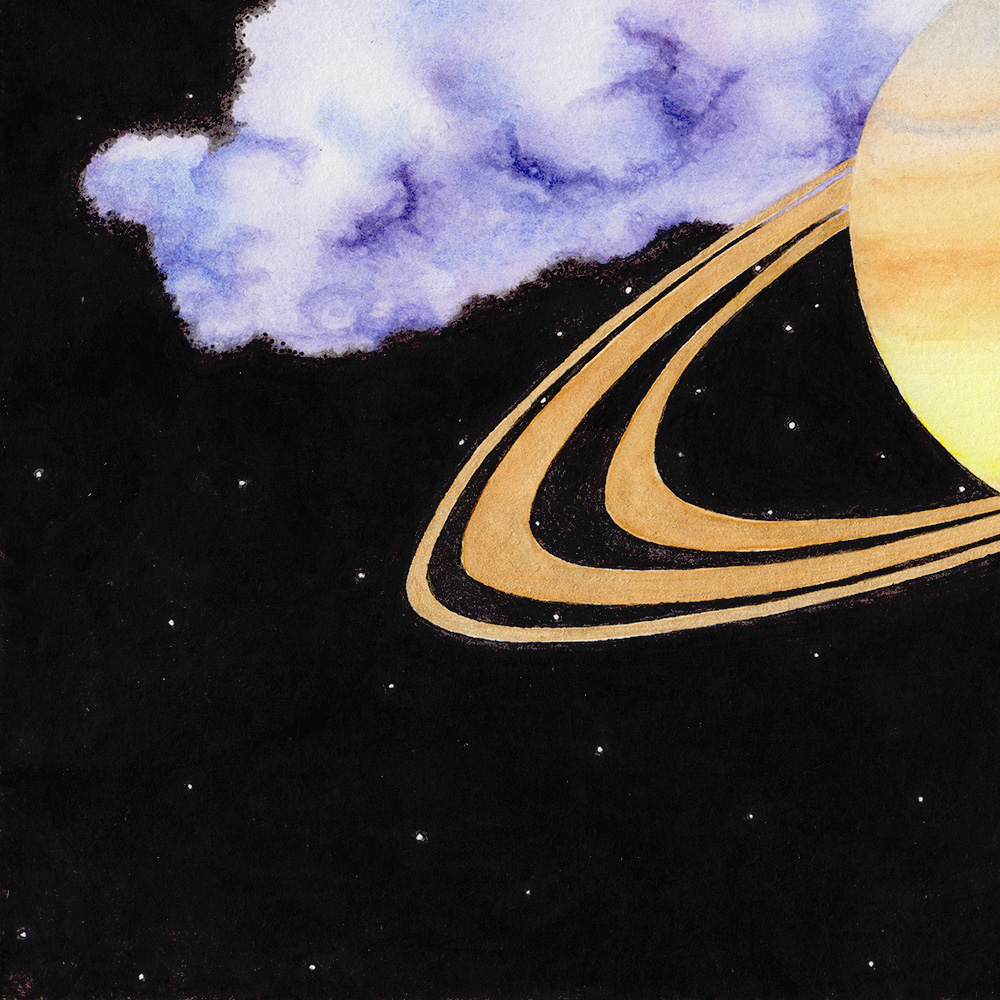
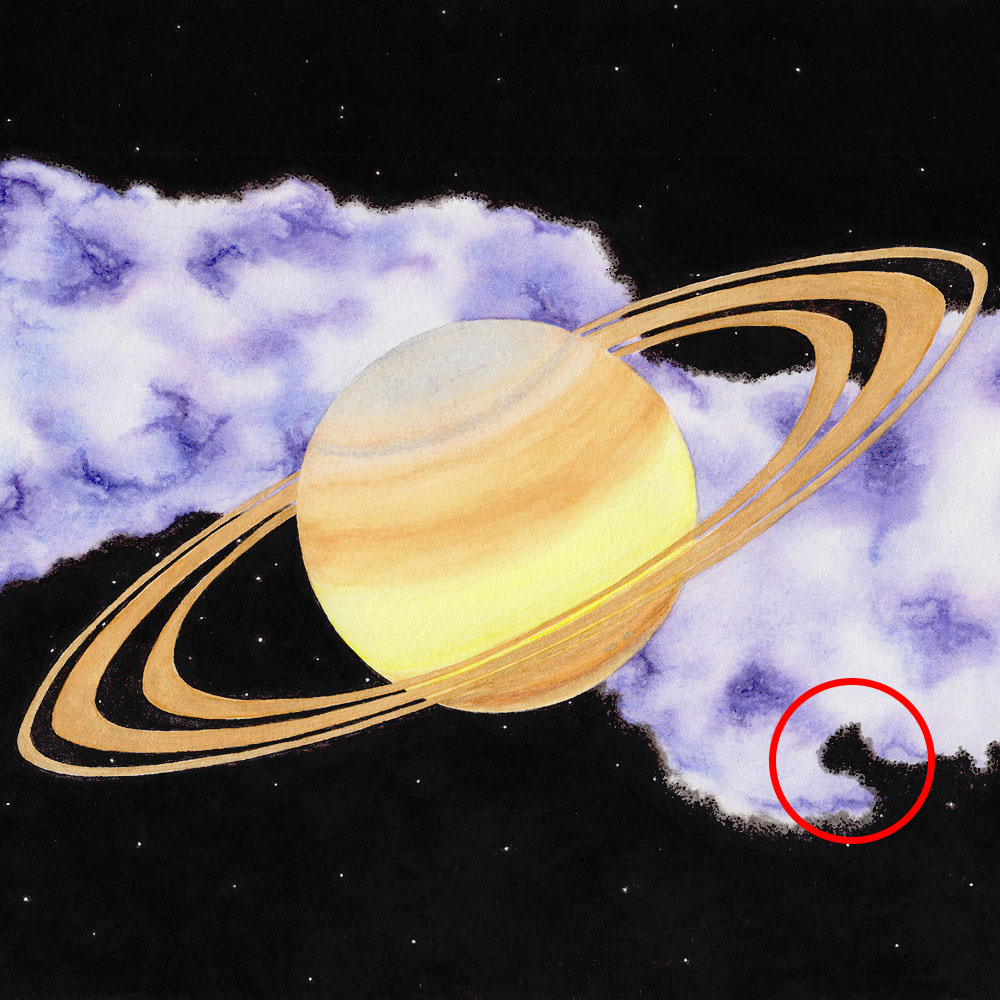
If you’re working with ink, it’s important to focus and consciously place the inkwell. Early on in my drawing, I had an unfortunate mishap that could have easily been prevented:
I placed my inkwell at the top left above the drawing and was working on an area below the cloud. The nib soaked up too much ink and when I moved the nib across the whole drawing, it deposited the ink right onto the galactic cloud.
I tried to clean up the ink spot with a tissue, but once ink landed on the paper, it was difficult to remove. Luckily, the spot landed at the edge of the cloud, so I could still fix the mistake. However, it would have been frustrating if the ink spot had landed on Saturn itself.
Adding Shadows with Ink and Improving the Rings
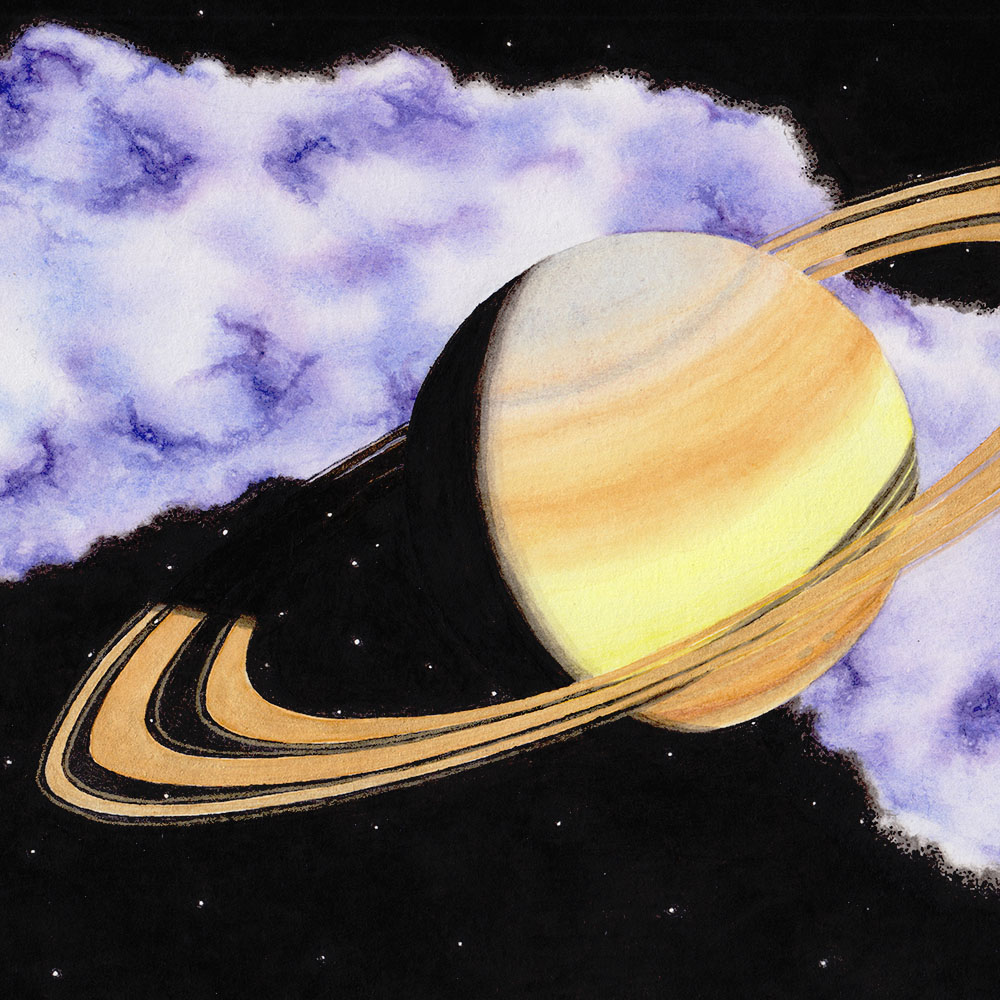
In my old drawing, Saturn looks like a flat disc. This is not only due to the straight lines on its surface but also due to the lack of shadows.
In the new drawing, shadows are essential, and I create them using both a nib and a brush. My goal is to make the shadows just as dark as the space surrounding them because, in space, there is absolute darkness.
I can only create a subtle gradient between the black shadows and the lighter areas by diluting the ink with a little water and applying it with a brush. Ink behaves differently from watercolor paint because even when diluted, the pigments go directly into the paper and cannot be blended with more water to create a smooth transition.
The biggest challenge is the shadows coming from the rings, some of which can be seen through the individual rings. I don’t know why I made it so difficult for myself with this placement, because a lot could go wrong. If you want to make your life easier, place your shadows so that they don’t intersect with the rings in the foreground.
I also improve the rings, and fortunately, I find a golden colored pencil in my collection! I use it to draw additional thin rings. In the end, there are seven rings, but they do not represent the actual seven rings of Saturn.
Drawing Saturn with Ink and Watercolor
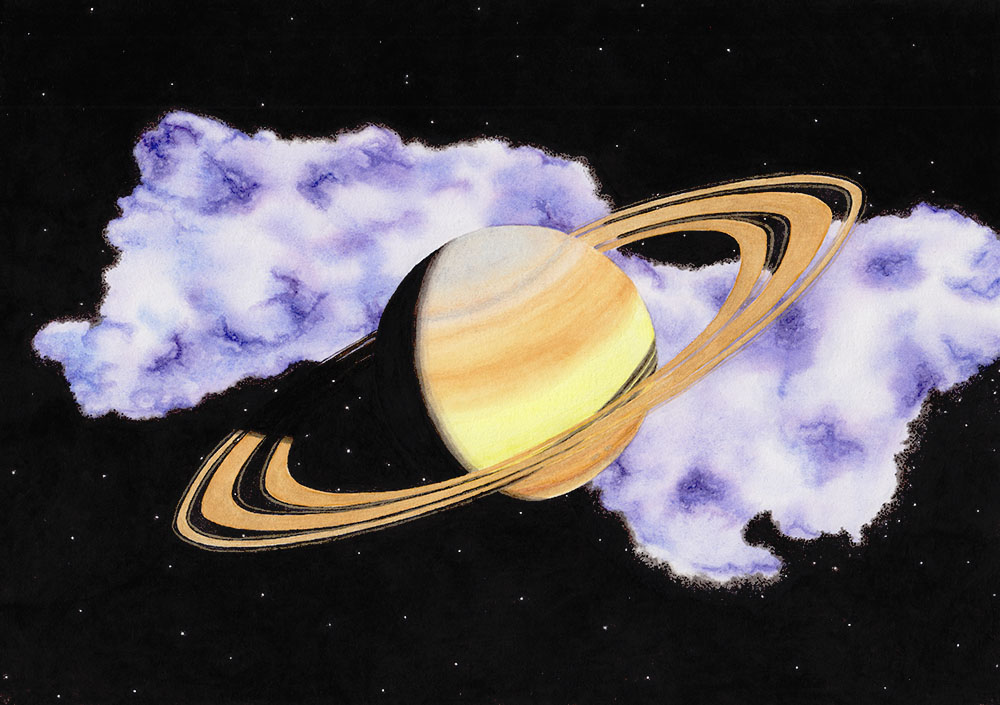
Great! I hope this tutorial was helpful in creating your drawing of Saturn. If anything was unclear or if you have any further questions, comments, or anything else, feel free to let us know in the comments below!
Similar Posts