
How to Draw a Tree – The Easy Way
Learn to draw any tree in just 3 steps
In this post, we’ll learn how to draw a tree in just three steps. Basically, drawing trees is pretty simple, because the steps are pretty much always the same.
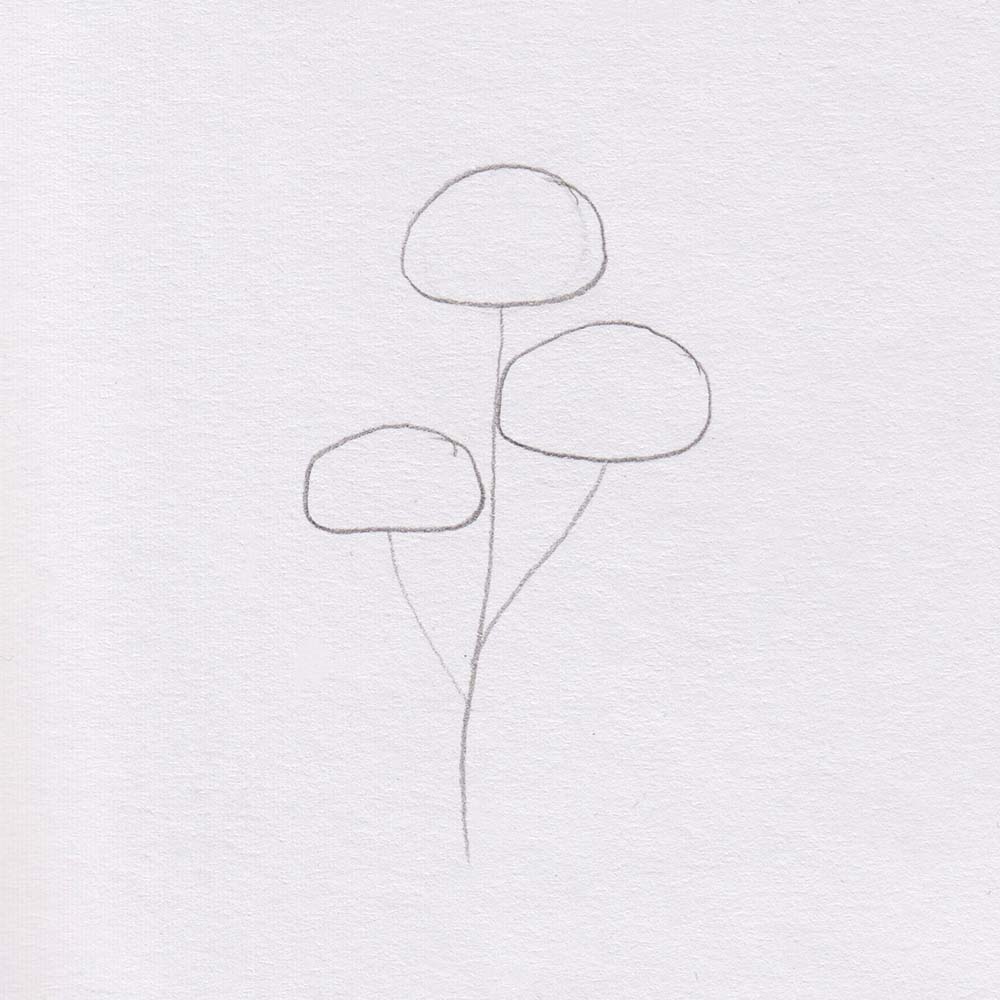
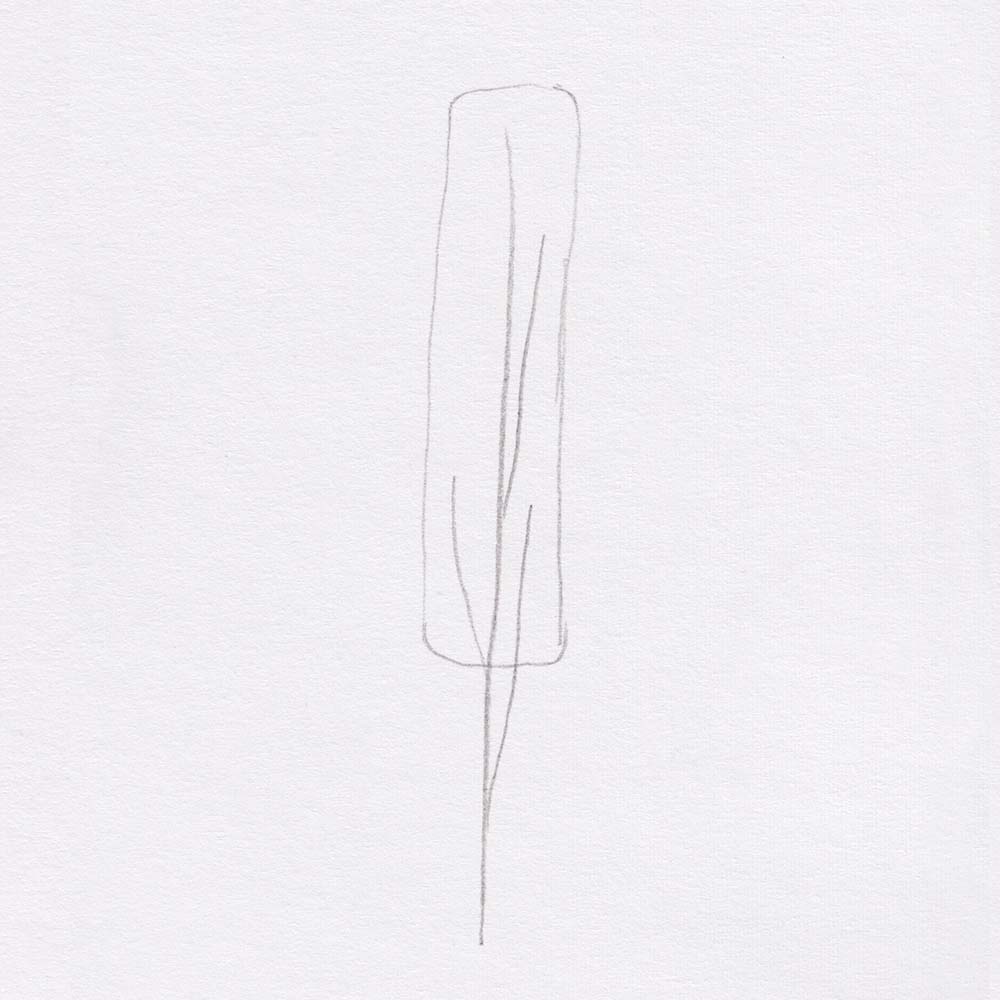
1. Sketch the shape of a tree
Any tree can be roughly sketched with simple shapes. If we look at the crowns of different trees, they look like circles, ovals, drops, or even rectangles.
We first record these shapes in our sketch and add the tree trunk and light branches to them.
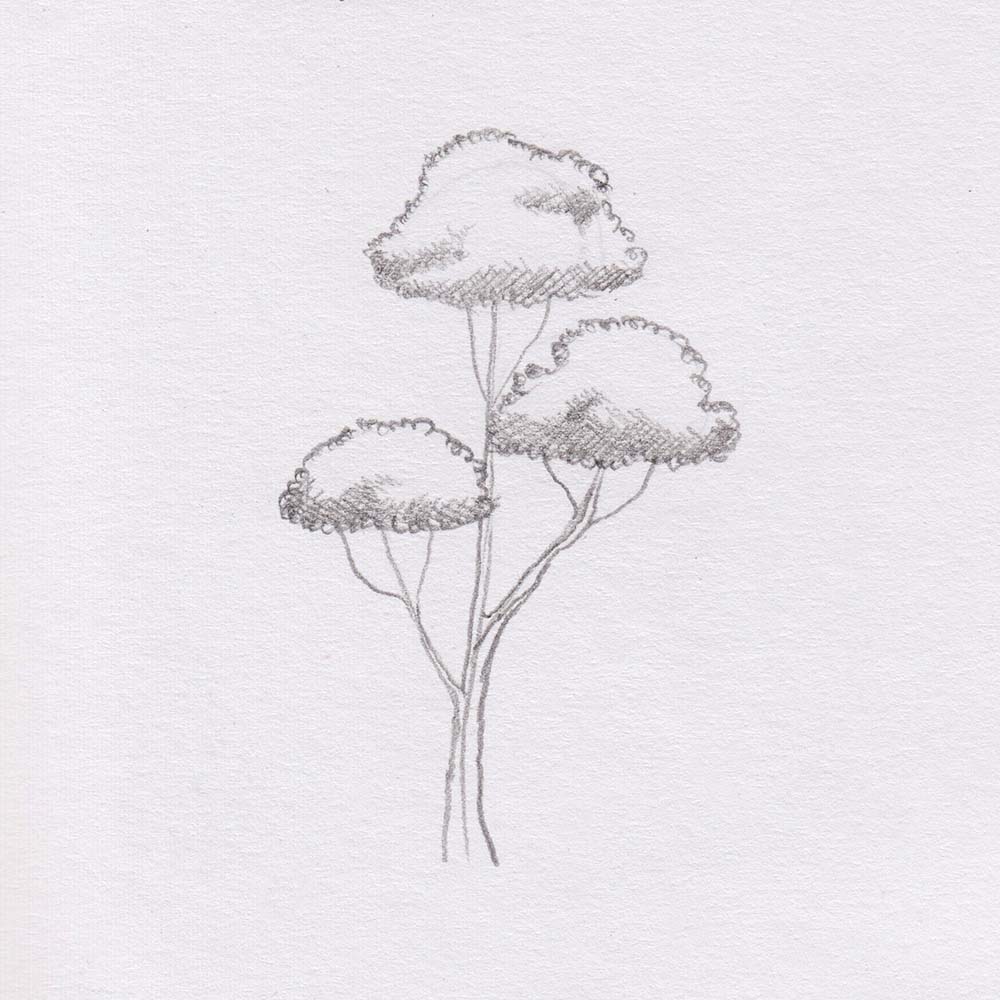
2. Refine your sketch
Now we refine the sketch along the outlines by hinting at leaves with many small semicircles. We try to change the original shape a little bit to make the tree crown look more natural.
Once this is done, we hint at shadows by simply adding shades to the lower part of the tree crown.
We draw the trunk thickest at the bottom part and let it and its branches become narrower towards the top. In addition, we can add a few more branches.
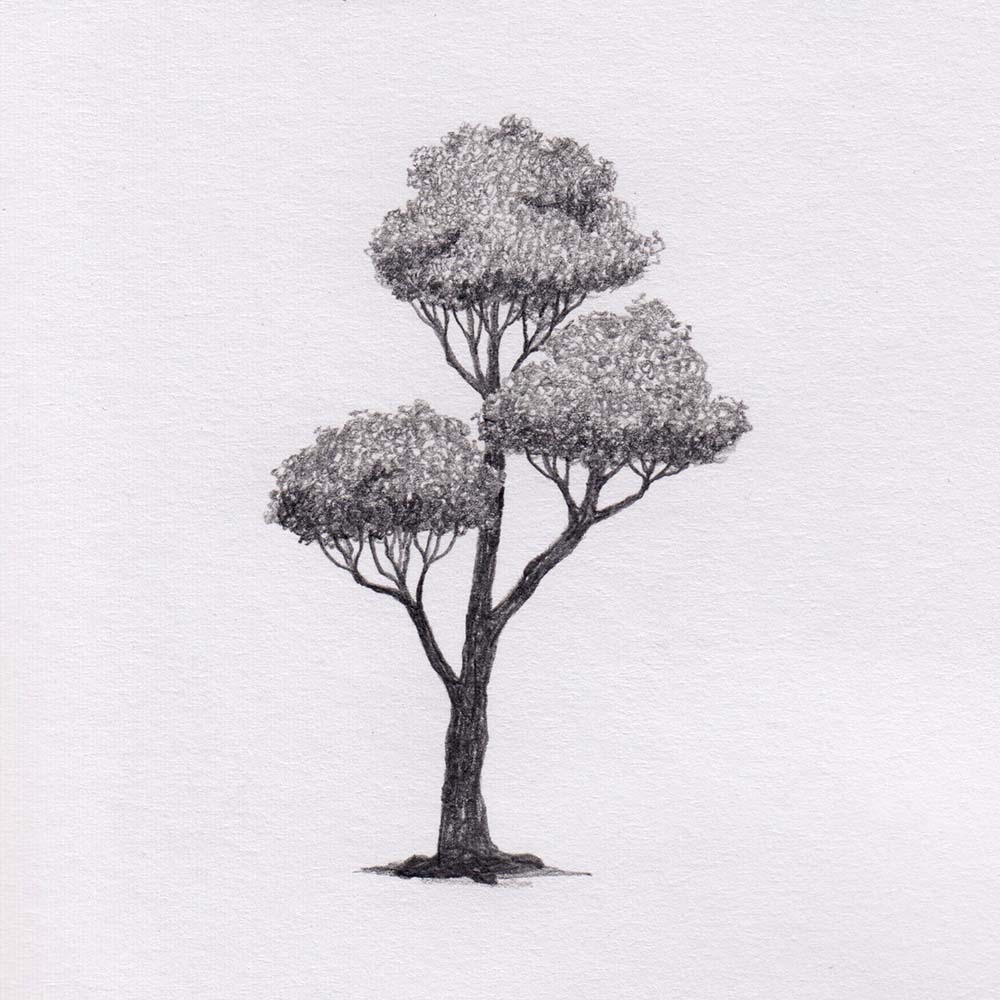
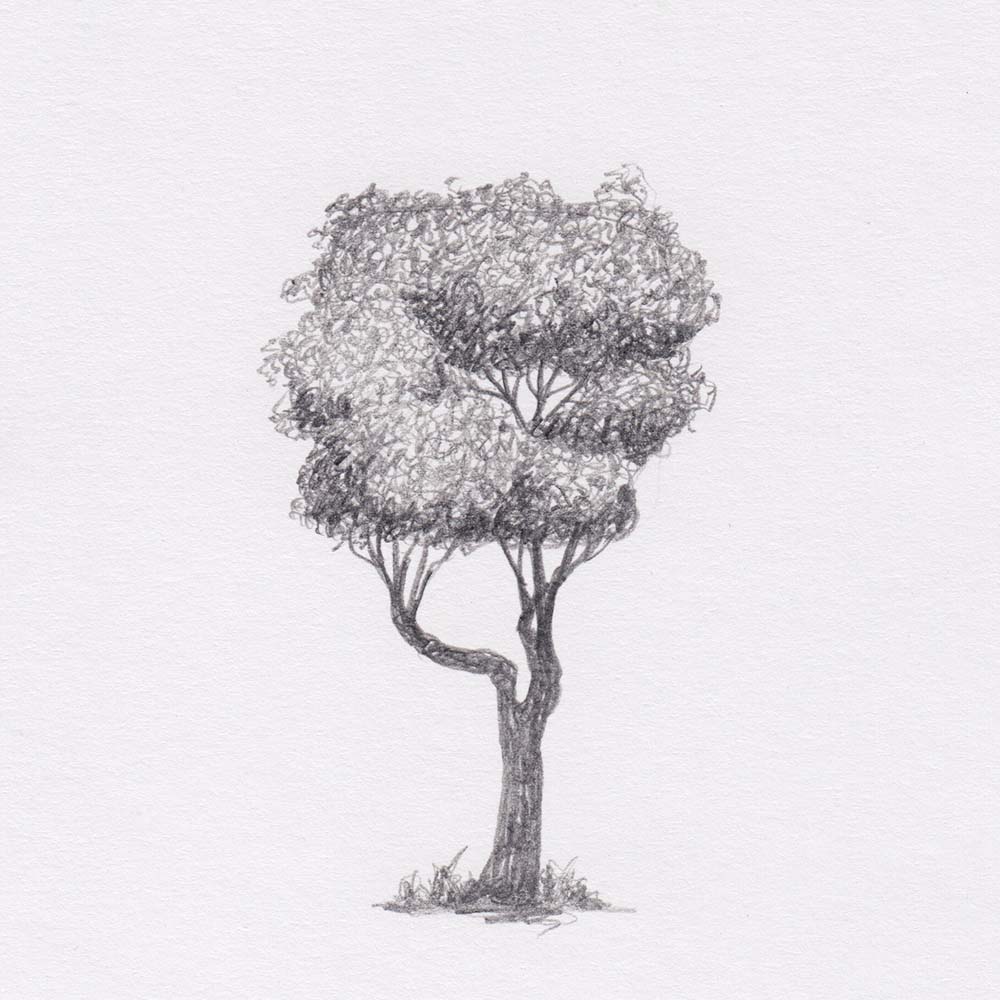
3. Draw details to the tree
Depending on the size of the tree drawing, in this step, we would either have to draw the leaves individually or we can just hint at them.
In our example drawing, it is enough to just hint at the leaves. Here, however, we proceed differently than in our sketch. The half circles don't look natural enough, so dots and isolated squiggly lines are the better choice.
For the shadowy parts, we switch to a darker pencil to keep the illusion of shadows.
Finally, we turn our attention to the trunk. We should draw it roughly and irregularly so that its surface looks like real tree bark.
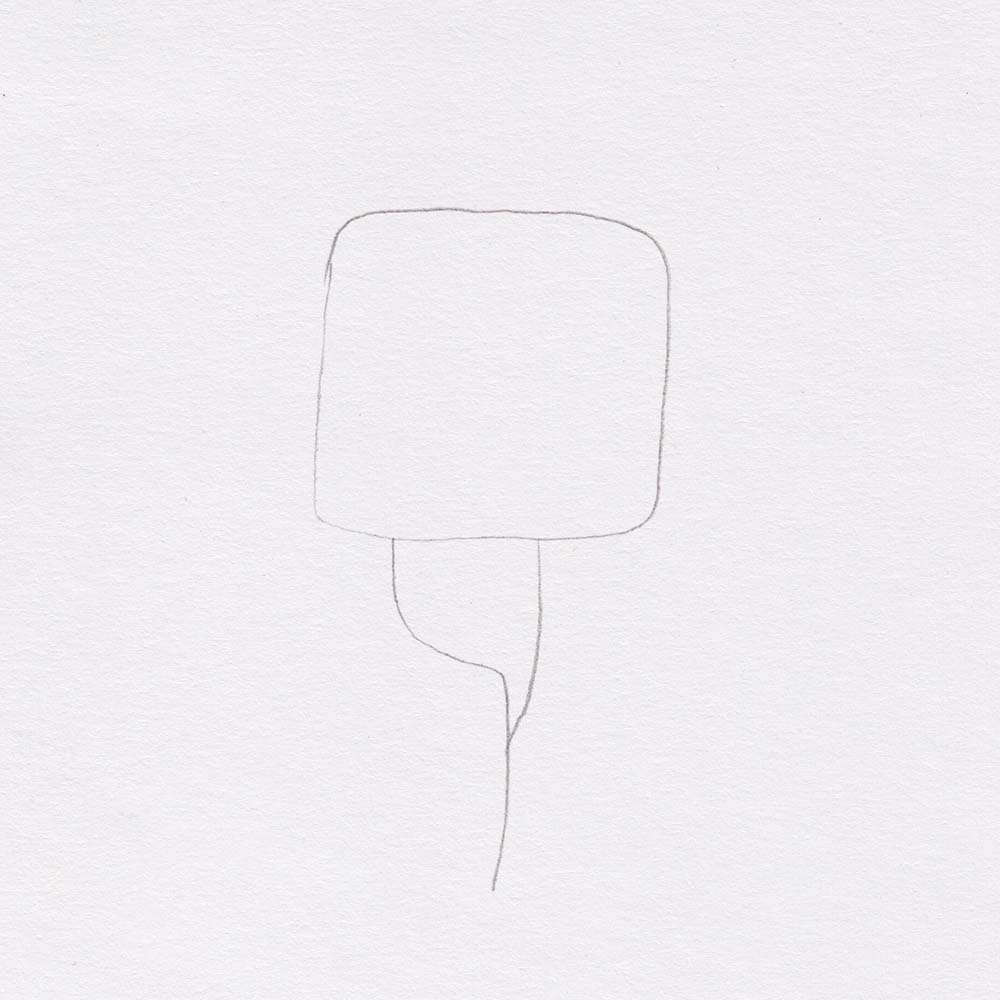
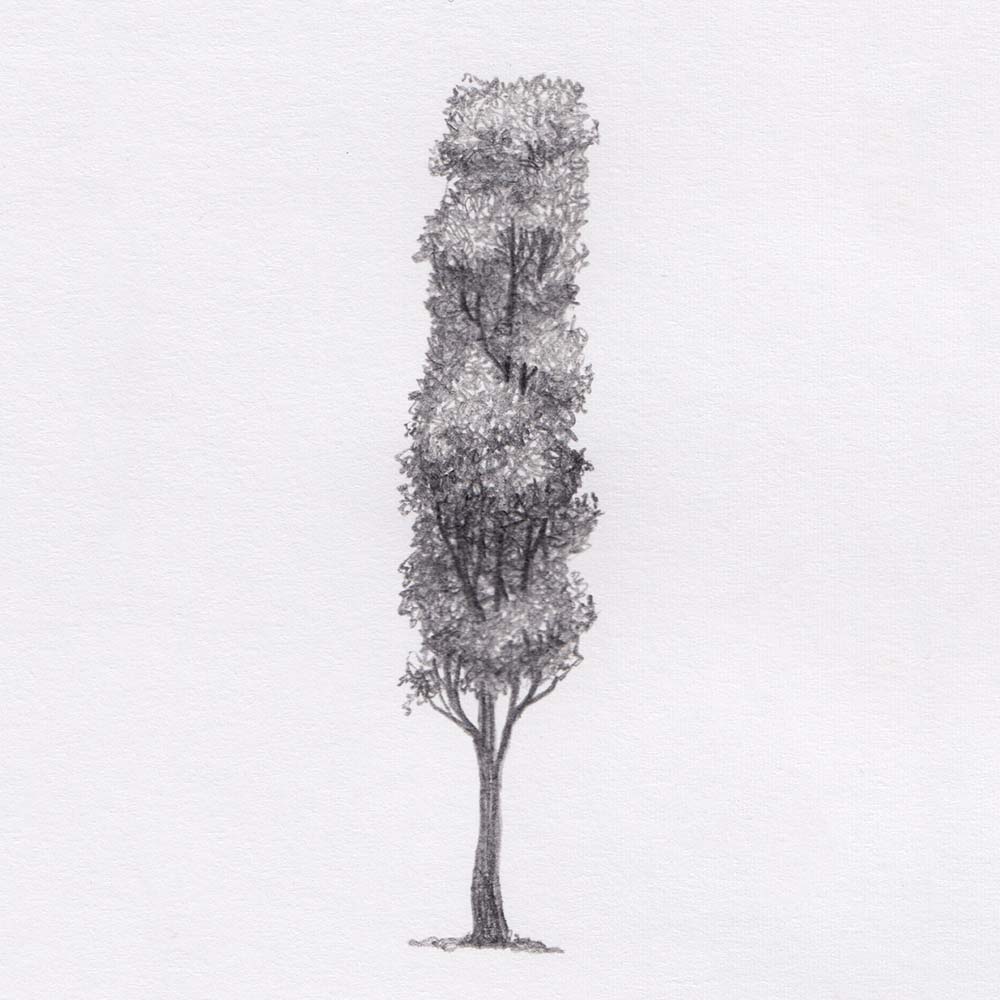
Drawing different shapes of trees
These three steps can be used to draw different trees, no matter how complex they may seem to us at first glance.


Similar Posts